How to Install Single Node Minikube Kubernetes Cluster on Linux

Here I am providing step wise guide to deploy single node MiniKube Cluster on Amazon EC2 for Kubernetes training and development purpose.
What is Minikube?
MinuKube is a lightweight K8S implementation that creates a VM on our local machine and deploy a simple cluster containing only one node.
Minimum Hardware Requirement for Minikube
- GB RAM
- vCPU
- 20 Gb Free Space
Installation Steps:
Follow the below steps for successful installation.
Step-1 : Launch Amazon EC2
Launch EC2 instance with the below configuration
- Instance Type: t2.medium ( 2 vCPU, 4 GB RAM)
- Security Group: Open Port 22 from your Local System IP.
- AMI: Amazon Linux, CentOS or RHEL (Latest Version Recommended)
Step-2 : Add User for Minikube
Login to the instance using your private key and create a new user. We need to do this as we can not start minikube if we are logged in as root user. We need other user with admin privileges.
useradd minikubeuser
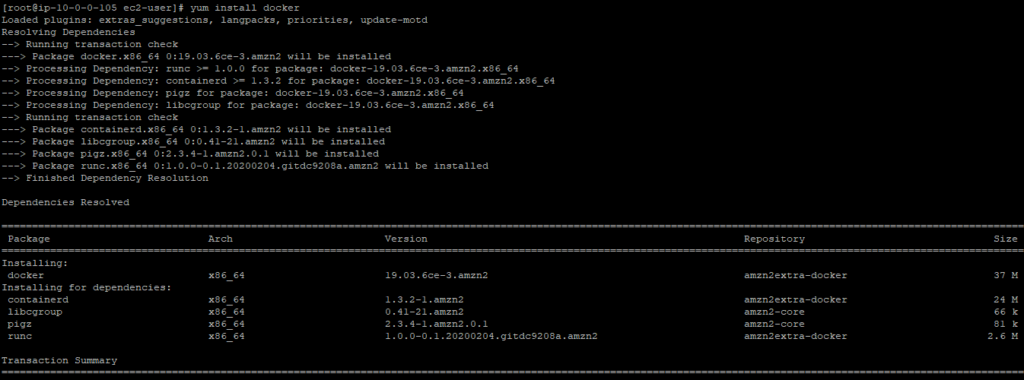
Step-3 : Install Docker
Install docker using below command.
yum install docker
Verify the docker by executing below command.
docker –version
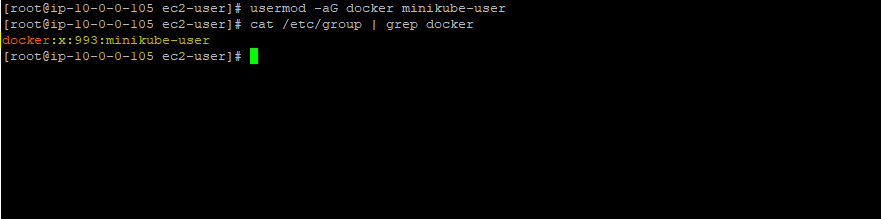
Step-4 : Add User to Docker group
Add the user minikube_user to docker group.
usermod -aG docker minikube-user
Set the password for this user.
passwd
Step-5 : Install Minikube Package
Download and Install RPM package for minikube.
curl -LO https://storage.googleapis.com/minikube/releases/latest/minikube-latest.x86_64.rpm

Download Minikube RPM Package
sudo rpm -ivh minikube-latest.x86_64.rpm
Step-6 : Start Minikube with Docker Driver
minikube can be deployed as a VM, a container, or bare-metal. Below drivers are supported for linux
- Docker – container-based (preferred, we are installing this one)
- KVM2 – VM-based (preferred)
- VirtualBox – VM
- None – bare-metal
- Podman – container (experimental)
We will be deploying using the Docker. Switch to the non root user minikube-user before excuting below commands otherwise it will run into error.
minikube start --driver=docker
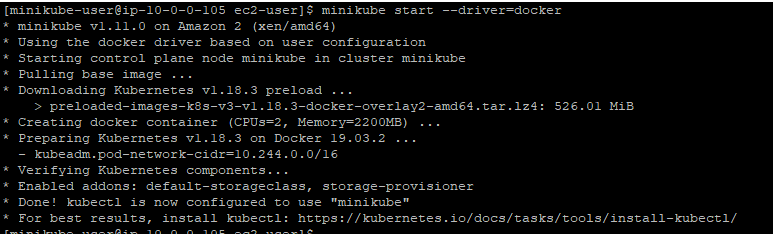
Start Minikube Using Docker Driver
To make docker the default driver:
minikube config set driver docker
Confirm and verify the minikube cluster status
minikube status

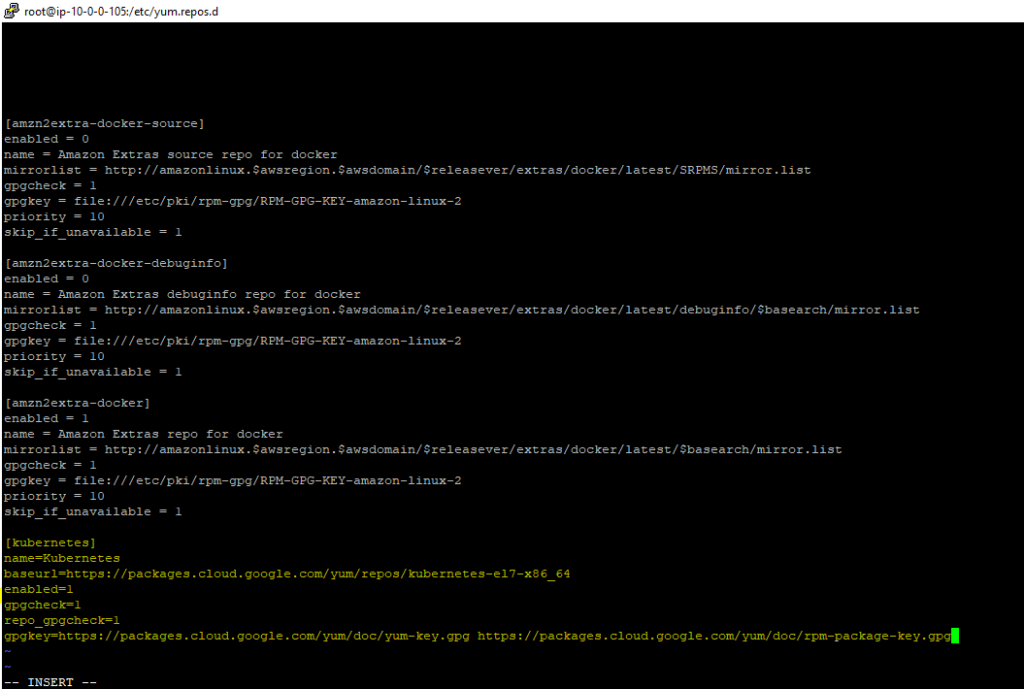
Step-7 : Install kubectl
To install kubectl we first need to add Kubernetes.repo to yum repolist
cd /etc/yum.repos.d
vi amzn2.extras.repo
Add below repository to the list.
[kubernetes]
name=Kubernetes
baseurl=https://packages.cloud.google.com/yum/repos/kubernetes-el7-x86_64
enabled=1
gpgcheck=1
repo_gpgcheck=1
gpgkey=https://packages.cloud.google.com/yum/doc/yum-key.gpg https://packages.cloud.google.com/yum/doc/rpm-package-key.gpg
EOF
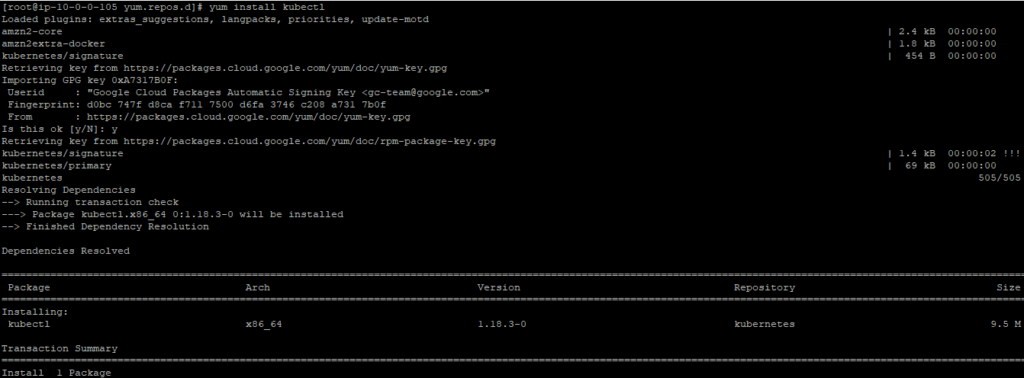
Execute below command now to install kubectl
minikube kubectl --get po -A
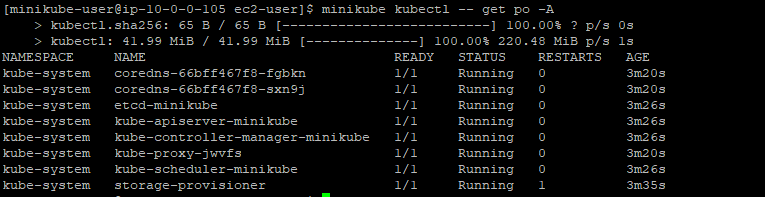
yum install kubectl
Kubectl cluster-info
Kubectl get node

You lab environment to play with Kubernetes is UP and running now .Get your hands dirty with Kubernetes.